projects - christmas clock
A Festive Family Christmas Clock
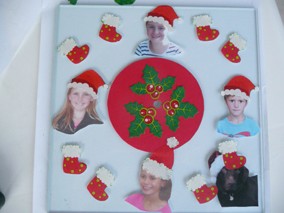
We came across glass clock which proved to be perfect base for this project. It could have been any other material and any other shape, and it would still have been fun to do. The result has been a great success, especially since the kids are learning to tell the time.
 |
 |
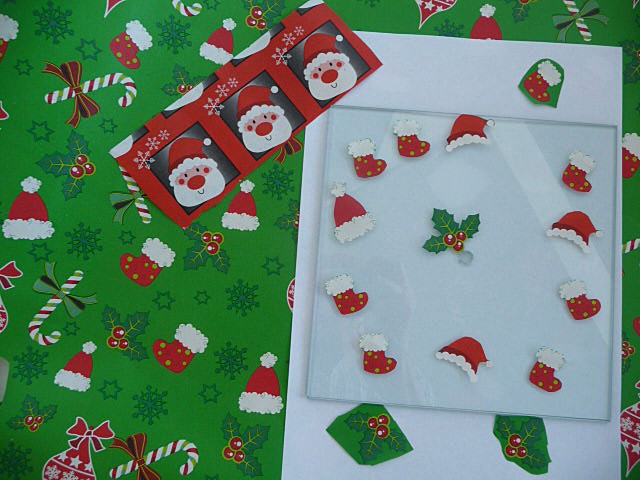
| Choose images from Christmas gift wrap. We were delighted to find these two so we could mix and match. Cut out and play around with images until happy with the look. | The Christmas clock is up much to the delight of the little helpers, and so it becomes one of the many Christmas decorations which will be a reminder to them of their youth. |
 |
 |
|
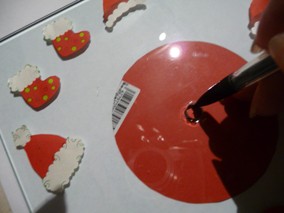 |
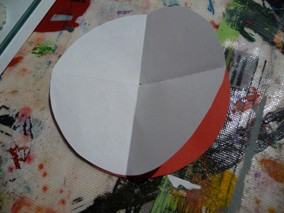
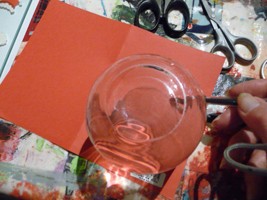
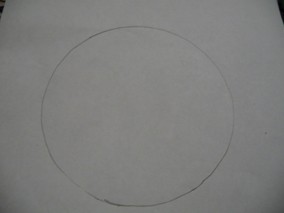
| A centre piece was needed to set off the holly sprigs in the centre of the clock. Using a little bowl that was the right size as a template, a circle was drawn around it on red card. | The same was done on a sheet of paper. | Fold the sheet of paper (not the red card) in half and half again which will give the centre of the circle. Put the circles together with the sheet of paper on top and stick a pin through both at the centre point. | Place the centre of the red circle below the hole in the middle of the clock and draw around the inside of the circle. |
 |
 |
 |
 |
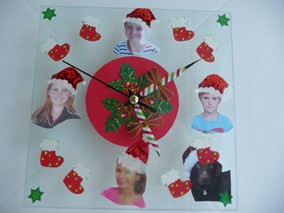
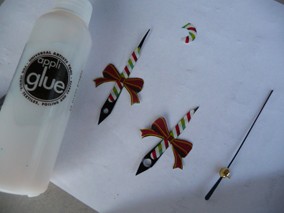
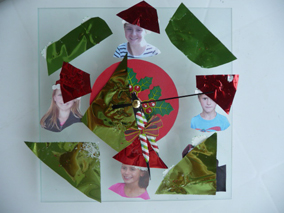
| Print out the chosen photographs. Cut them out and give them their festive hats. These should ideally be printed on matt photographic or good quality paper. Here we simply used regular office paper. Place everything else in position and glue down. | The clock's hands were given a new look. We used the candy sticks on the gift wrap, but cut off the bendy bit on the end. Attach the mechanism as per instructions, along with a battery if like us you just couldn't wait to see it work! | Once it was all in place, suddenly it was decided that a little bit of foiling would have been such a good idea! Not to be put off by the hands moving round, little bits of the design were highlighted with Appliglue and when virtually dry, the transfer foils were added shiny side up. | Give the foils a rub and pull them off to reveal the wonderful sheen, and where the Appliglue has dried too much, simply heat it up with the hair dryerand pull off the foils when cold. |
 |
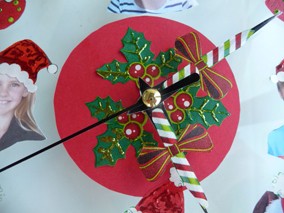 |
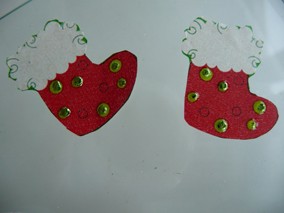
| Here the little green dots were hhighlighted, and looked really cute when complete. | On the left of the photo, is the Christmas hat which has been given a new look with red foils. In the centre of the clock, the veins of the holly leaves were highlighted with lime green! |

