projects - decoupage bird house
decoupage bird house
here's how we did it .....
 |
 |
 |
|
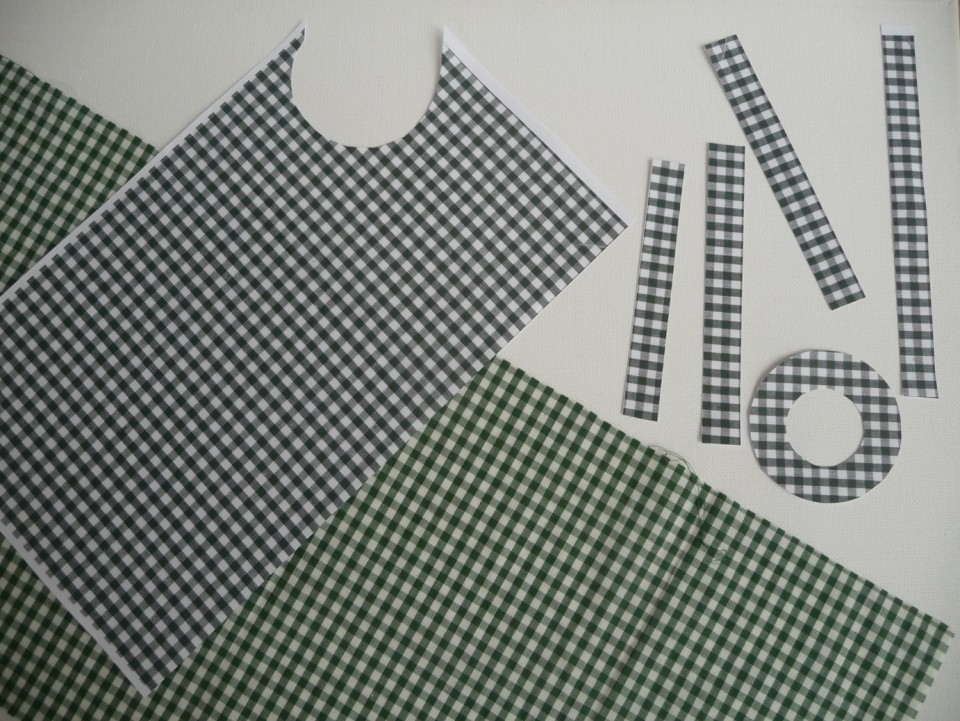
I liked the idea of checks but didn't have any so photocopied a piece of fabric. Even though the colour was a bit darker than the original I felt that is would stil work and look good. The areas to be covered with it were measured, drawn on the wrong side of the paper and cut out. |
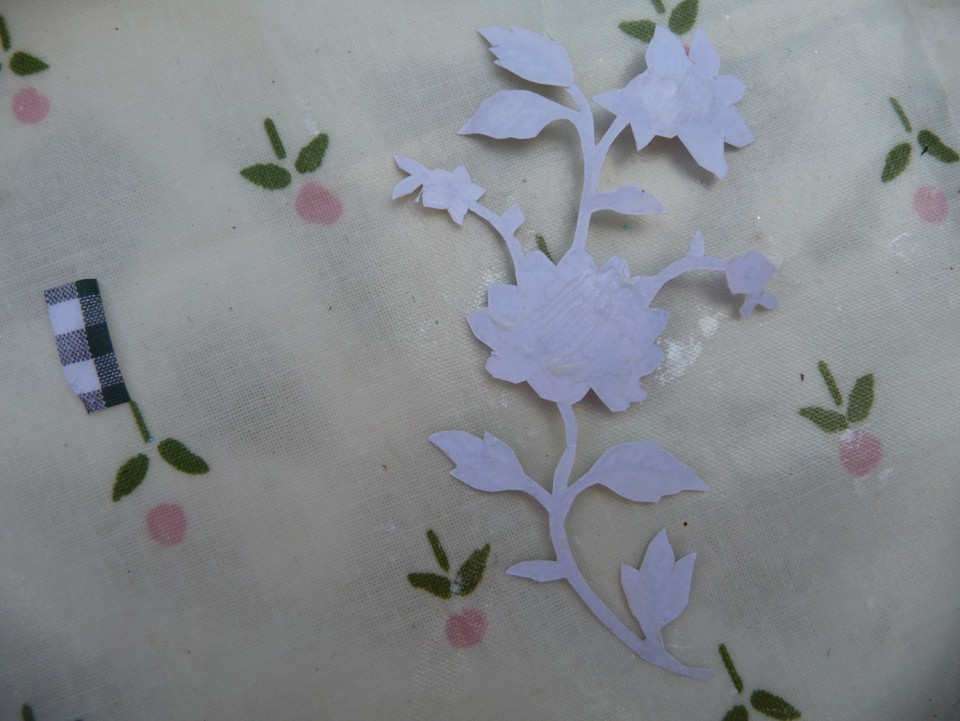
Pretty paper left over from our Easter Egg project was on hand. Loads of pieces had already been cut out, so after playing around with designs for a while I was ready to start. One of the flowers was removed, turned upside down, covered with the decoupage finish and placed back on to the design. Soon each of the pieces had been pasted in position and the design completed. |
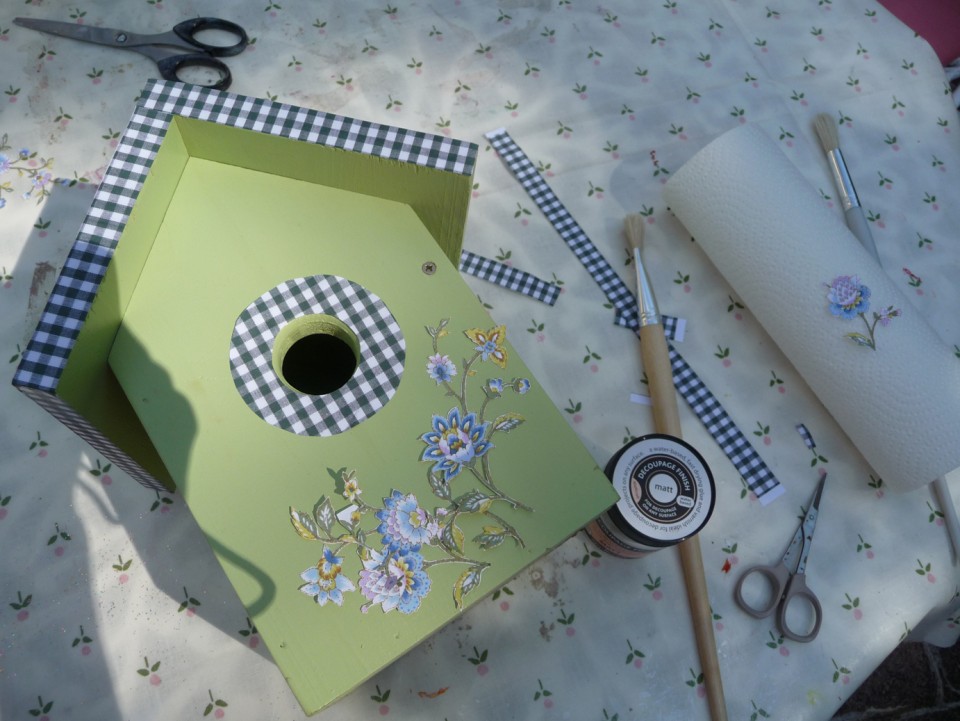
Soon each of the pieces had been pasted in position and the design completed. It is always so rewarding when it starts to take shape. Everything that is needed for the project is here: small pair of nail scissors, a paint brush although I used a sponge brush for the finishing off afterwards, a 100ml of Decoupage Finish and a roll of paper towel. |
 |
 |
 |
|
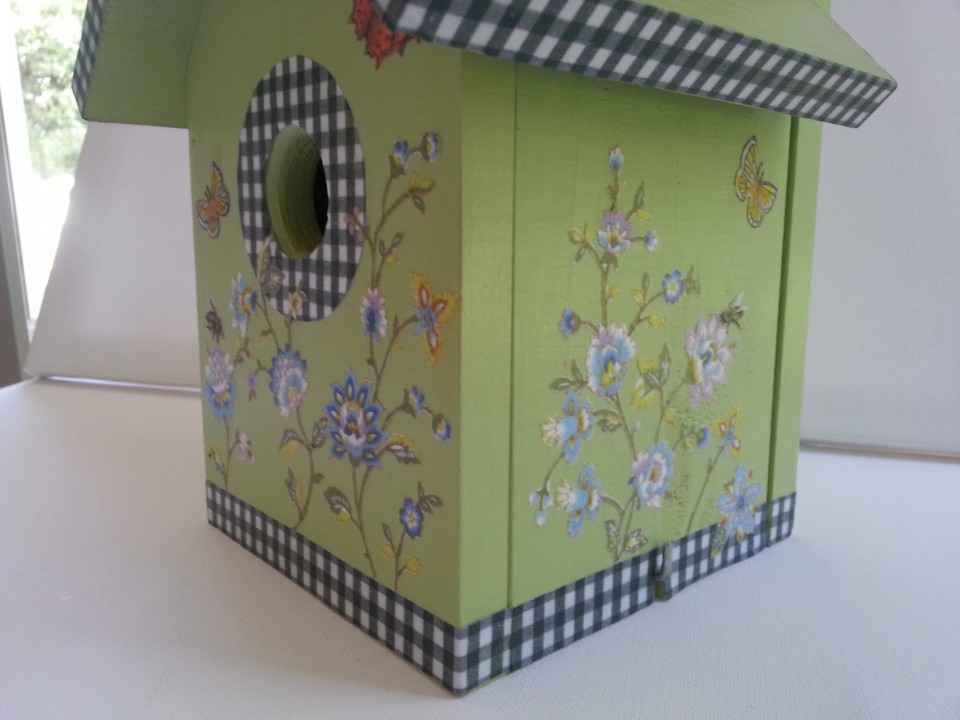
Once the front was complete, each of the sides was decorated. Bees and butterflies, extra leaves and flowers were added to the mix to finish off the design. |
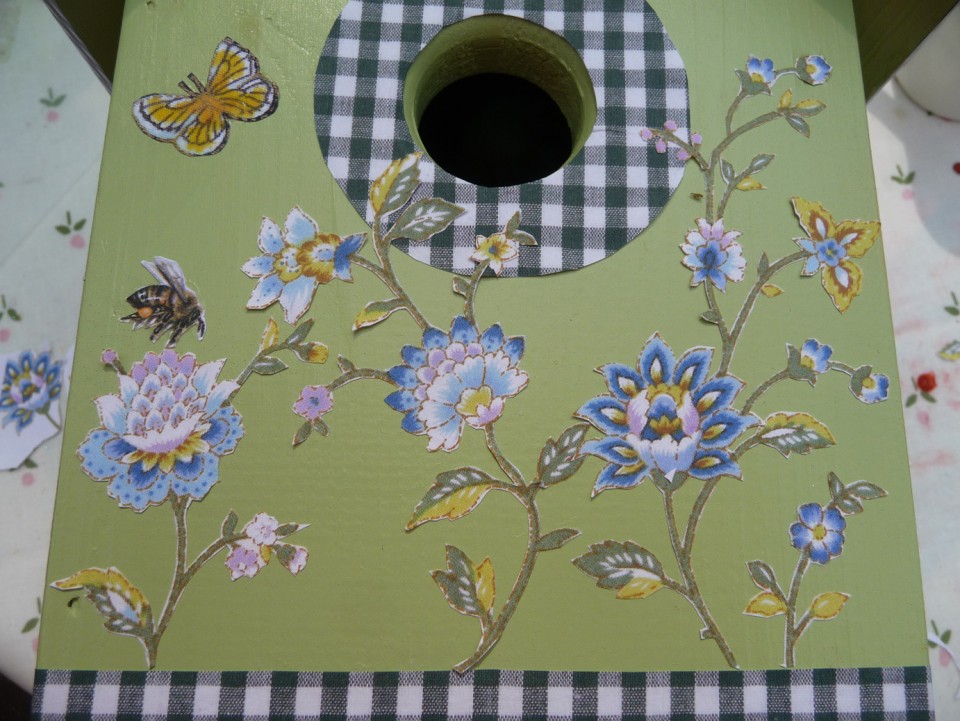
This close up of the front has only had one coat of decoupage finish. Each coat doesn't take too long to dry. I added about 10 coats to the design so that the final design gives the impression of being embedded which gives the impression of having been painted. |
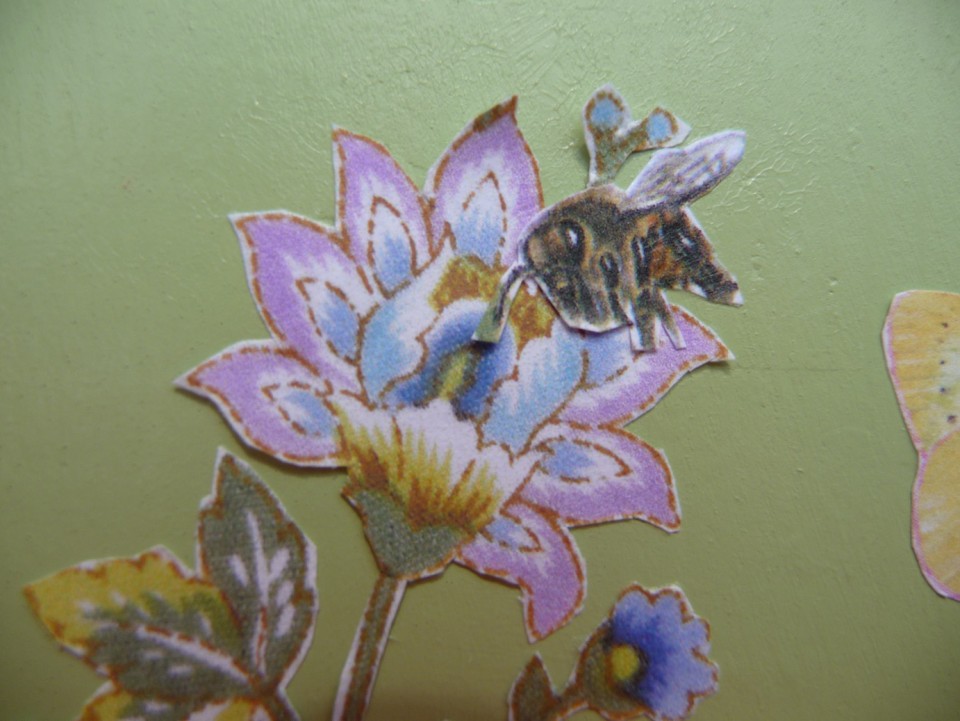
Here you can see the detail of one of the flowers with a bee added to it . This has not yet been covered with the first coat of decoupage finish. |
 |
|
|
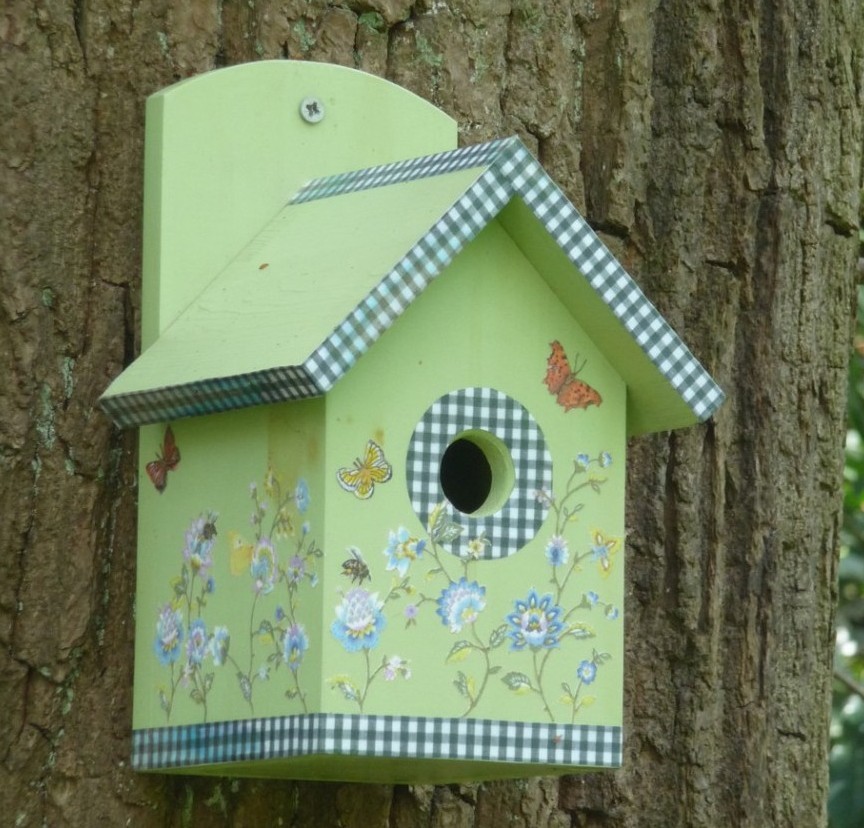
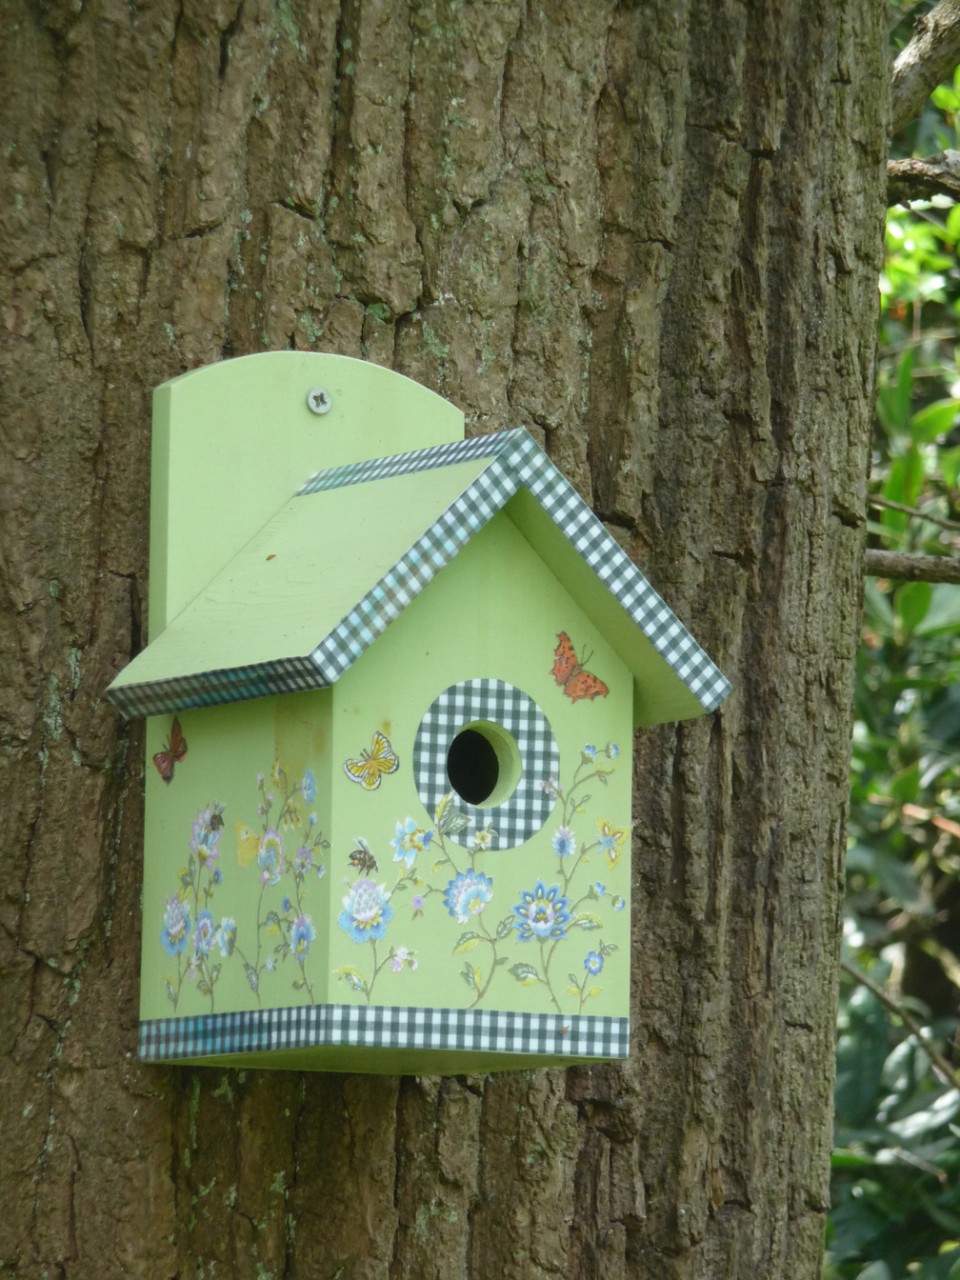
The finished birdhouse just after it had been completed. Pristine. |


