blog - festive foiling!
Add a shine to your festivities this year with a little festive foiling!
These transfer foils will have you wanting to experiment on anything and everything you can lay your hands on. They can be used on a wide variety of surfaces, so have fun foiling anything from textiles to glass, acrylic, card and even wood.
Use them with double sided tape, glue dots, glue sticks, fusible webbing and easy peasy Appliglue of course.
They are perfect for adding lustre to so many of the items that are used at Christmas time. So, add sheen and fabulous dimension to decorations, gift wrap, napkins, glasses, candle holders, frames, mirrors, baubles, and paper bags to name but a few.
Over the next couple of weeks ideas and "how to's" will be added to this page so keep an eye out for last minute quick and easy inspirations.
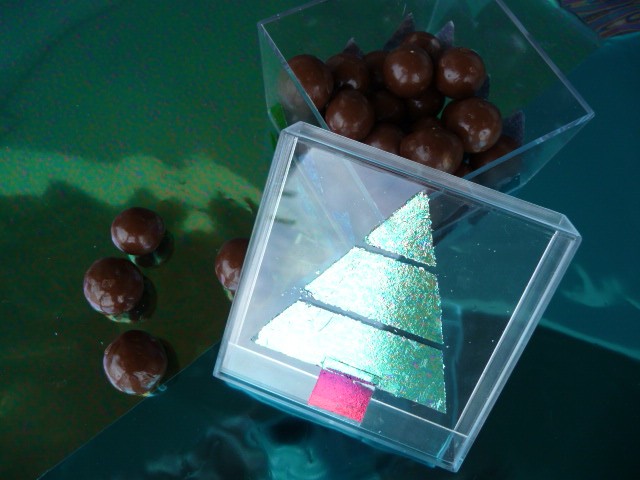
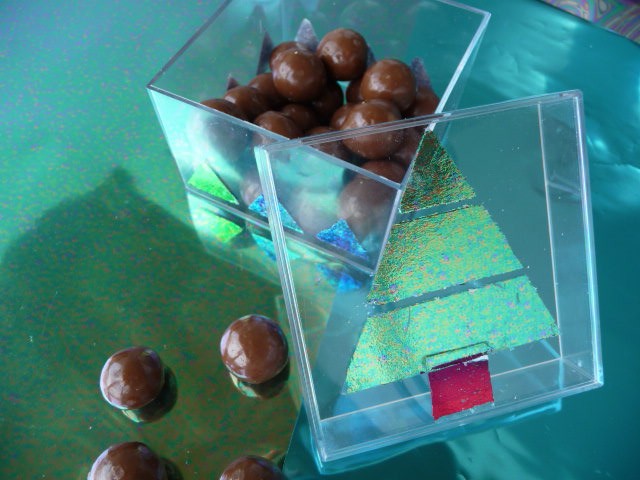
Acrylic boxes decorated using double sided tape, foil and filled with choccies
|
|
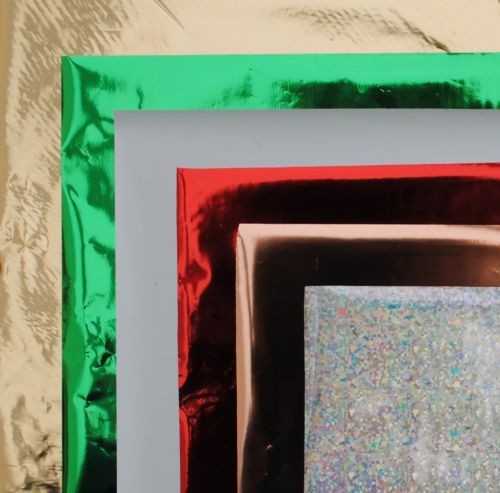
Double sided tape was cut to create a layered Christmas Tree. Then the top layer was peeled off leaving a sticky surface. Monet Foil was placed over the sticky tape with the shiny side up and pressed down. After a few minutes the foil was removed to reveal the foiled design. The trunk was created with a left over piece of the Rainbow foil in the same manner. |
 |
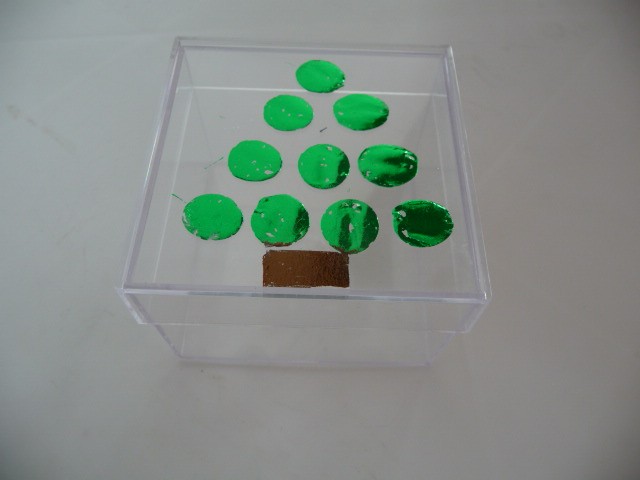
Acrylic boxes with glue dots and tree green foil
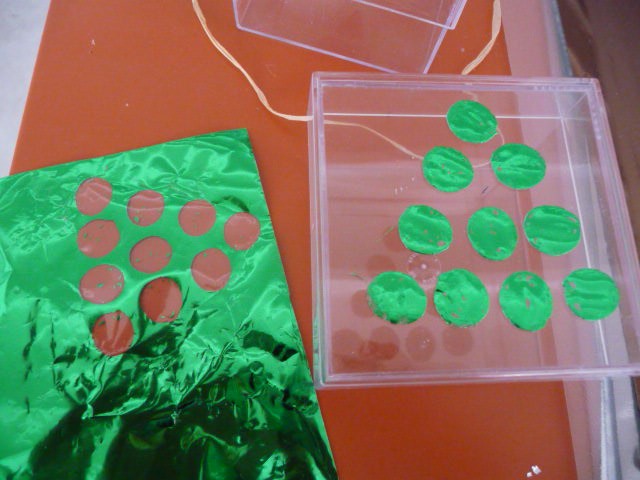 |
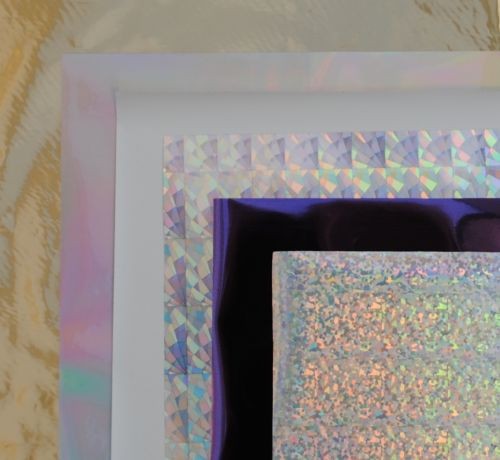
Place the glue dots in the configuration of a Christmas tree. Position the foil over the glue dots colour side up, and smooth down all around the glue dots. After a short while peel the foil off the dots and as if by magic the tree appears. NB Tricks of the Trade It's better to use permanent glue dots than removeable If the glue dots are old they may become a bit sticky, so put them in the fridge for a while. It works a treat. |
 |
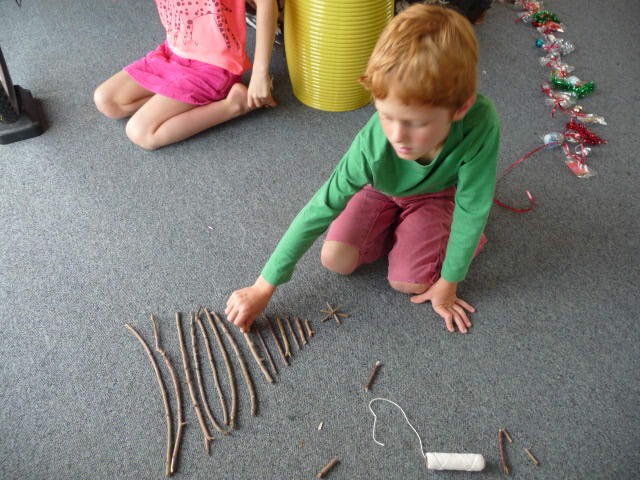
A Christmas Tree from Kindling
This was a great project to do in conjunction with the kids. They loved searching for the pieces of wood and then seeing the shape of the tree appear. Each stage was completed quickly, and each made such an obvious difference that it retained their expectation of something exciting about to happen.
The final pulling off the foils and revealing the shiny foil is always a huge winner. For the full project follow this link.
 |
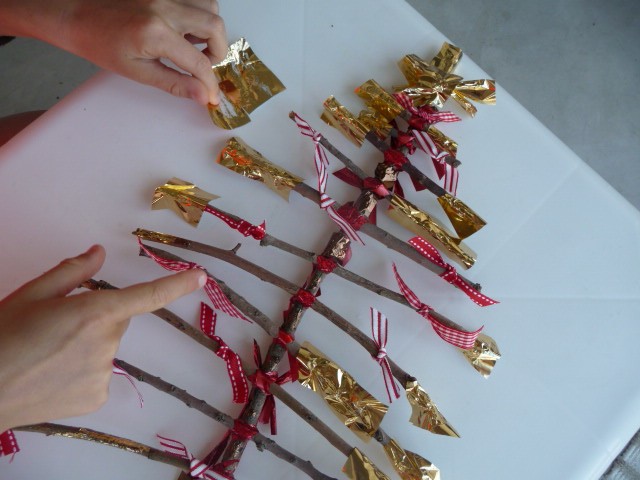
After much help choosing the kindling, the pieces of wood were broken to size if necessary and laid out on the floor. First they were tied together with ribbon. Simple detail was added by tying on a variety of little ribbons. Then Appliglue was smeared on the wood in various places and when virtually dry the foil was wrapped around it.. When dry, the areas foiled were rubbed with the finger and removed to reveal the gold on the wood. If you miss the moment and the Appliglue is absolutely dry, use a hairdryer to heat it up and rub again. In this case remove the foil when it is cold. |
 |
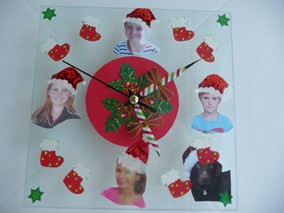
A personalised Festive Christmas Clock for the kids
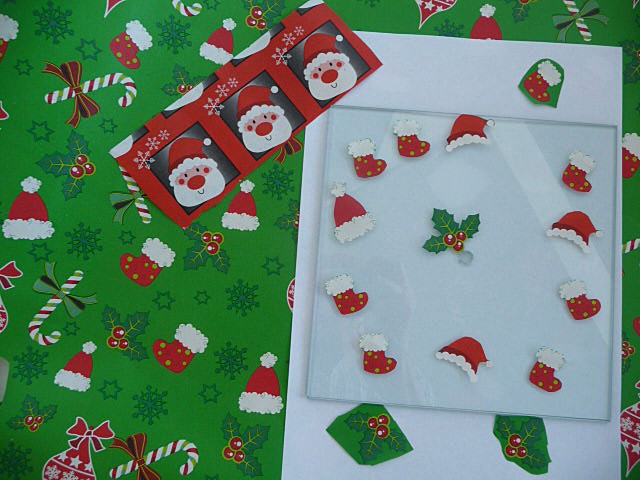 |
Choose images from Christmas gift wrap. We were delighted to find these two so we could mix and match. Cut out and play around with images until happy with the look. Add photos, glue on and then foil for a bit of festive cheer. The Christmas clock is up much to the delight of the little helpers, and so it becomes one of the many Christmas decorations which will be a reminder to them of their youth. To find out "how to" do this click here |
 |
Special Offers Below
 |
 |
we have put together these two Christmas A4 packs at 20% off the normal price - one containing traditional colours
and then a more contemporary collection
click on the images for details
 |
or choose our TXC pack containing 4 colours -
available in either A4 or A5 sizes
20% off until end of December
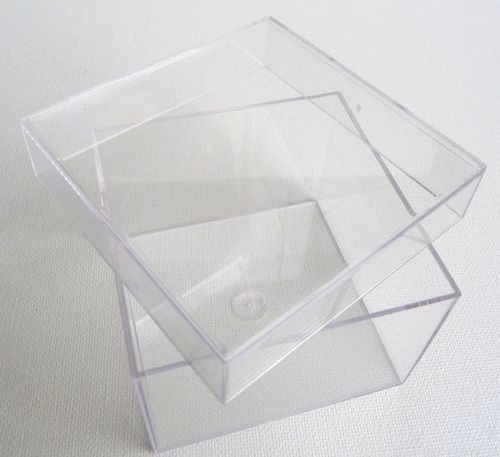
click on the image to buy your acrylic bead box
at 20% off usual price


