blog - bird house
Upcycled bird house holds up to scrutiny
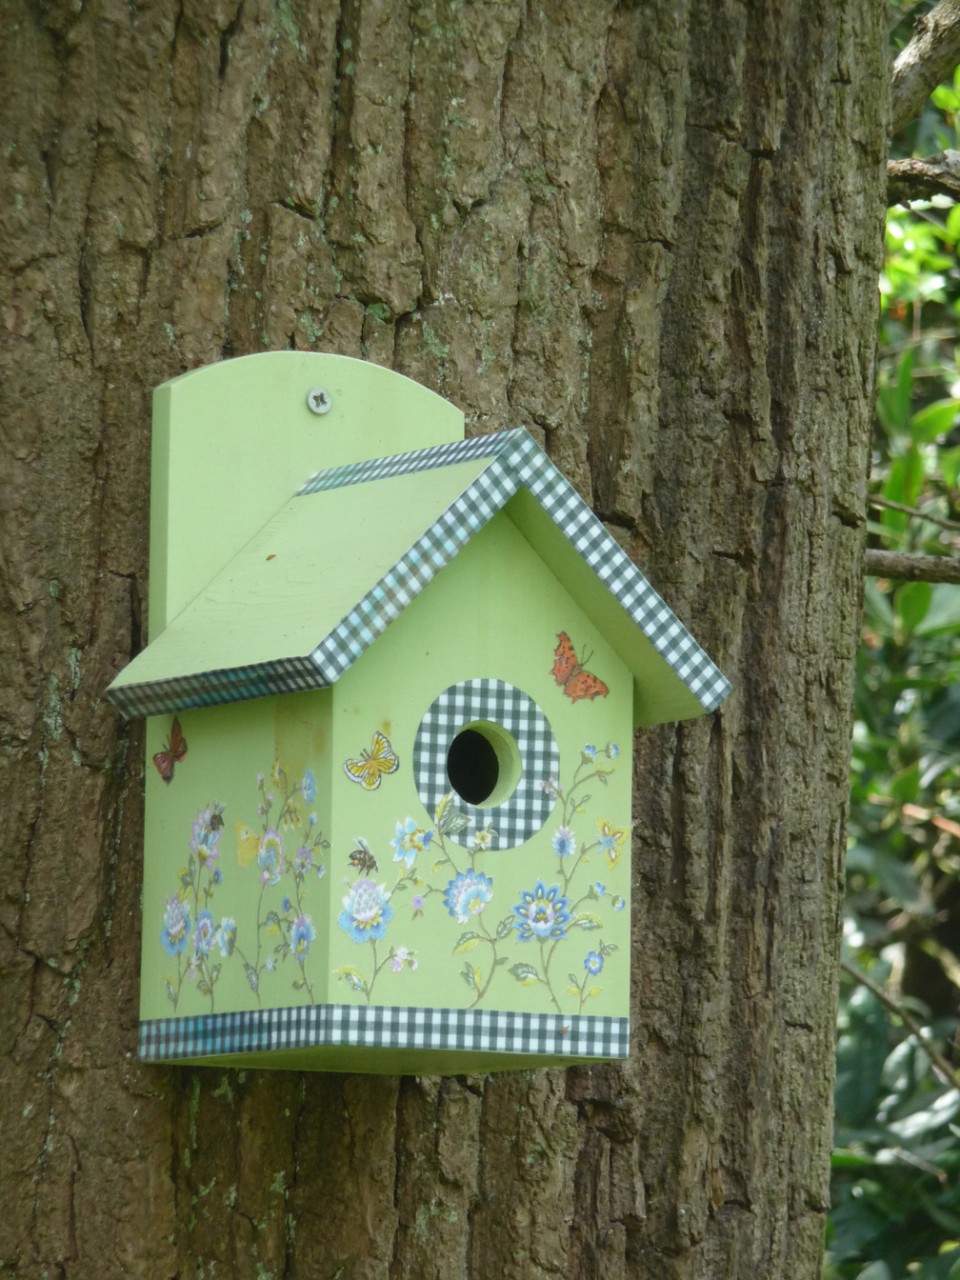
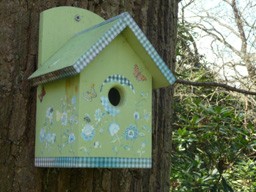
Just over a year ago the renovated birdhouse was hung up on the wonderful oak tree to see how it would weather.
We were curious to see what the result would be.
Our Decoupage Finish has always been sold as a product to be used for decorative decoupage indoors, but over the years we've been told by our customers that they regularly put it on clay pots and leave them outdoors in all weathers. "We recommend that you varnish the product if it's going to go outside in the elements." "No varnish" was the response. Horror of horrors! We imagined the worst and warned against doing something so silly. Don't fuss, we were told, if the design deteriorates too much we'll update it again - it's our thing. No amount of discussion was going to help, so we decided to put the product to the test, and we're going to share these results with you.
Just a warning though, this experiment was done in the gentle climes of Surrey. A test in Wales or Scotland may produce a different result.
The 15 months of being out in the rain, sun and freezing weather is over and the result is so much better than anticipated. For the stalwarts, there is at least another year of wear and tear left in it.
So the choice is yours. Leave it as is knowing the limitations, or varnish with a good exterior varnish for a longer life.
Below is our step by step project.
 |
 |
 |
|
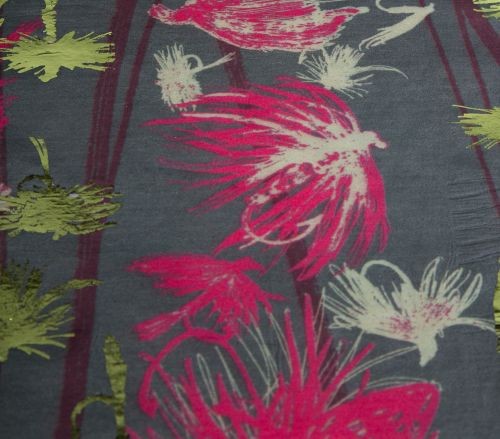
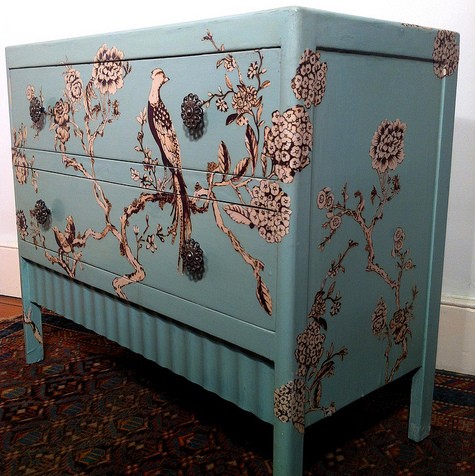
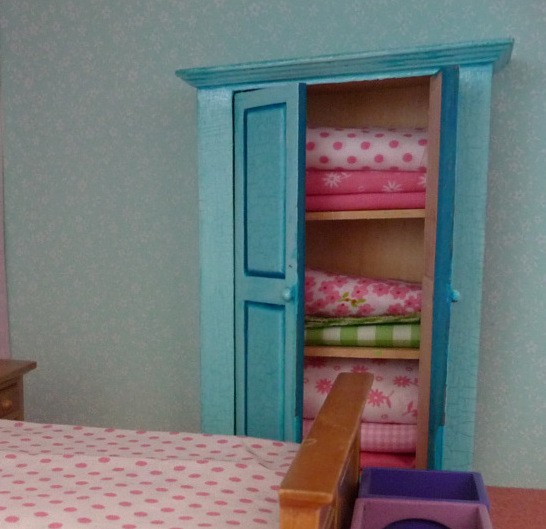
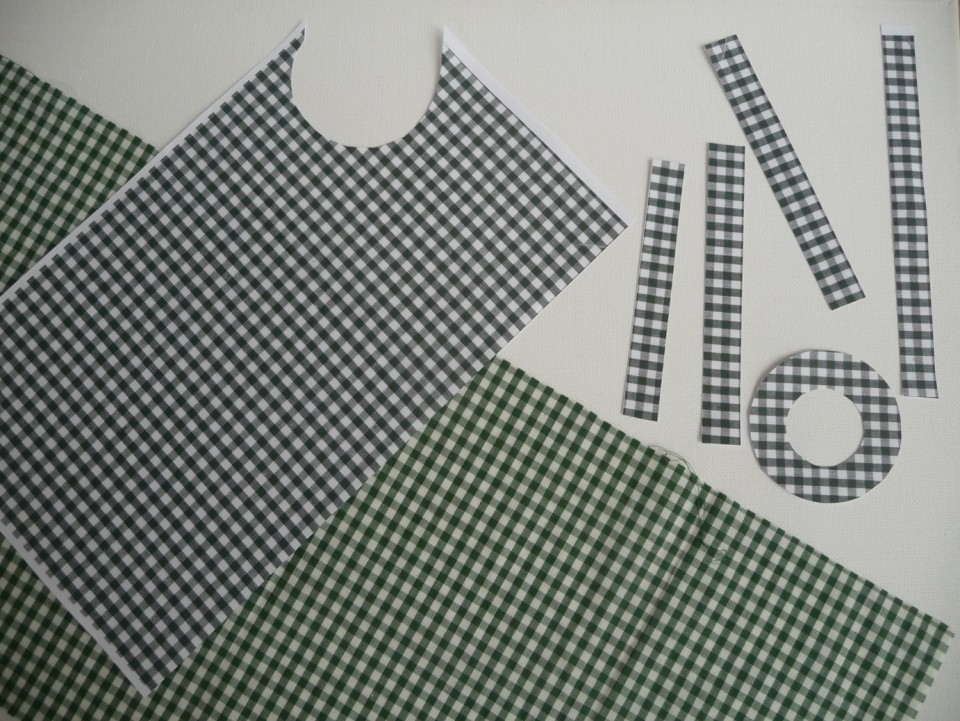
I liked the idea of checks but didn't have any so photocopied a piece of fabric. Even though the colour was a bit darker than the original I felt that is would stil work and look good. The areas to be covered with it were measured, drawn on the wrong side of the paper and cut out. |
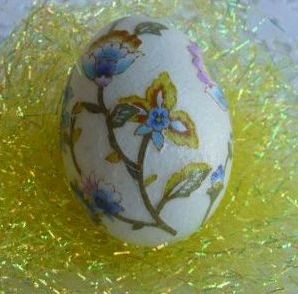
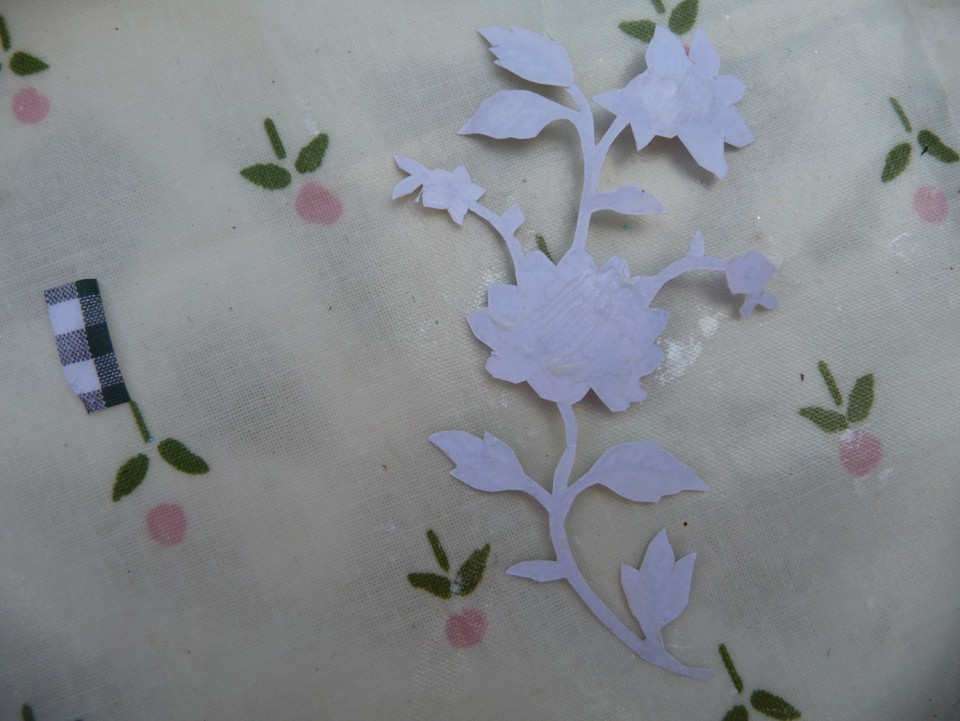
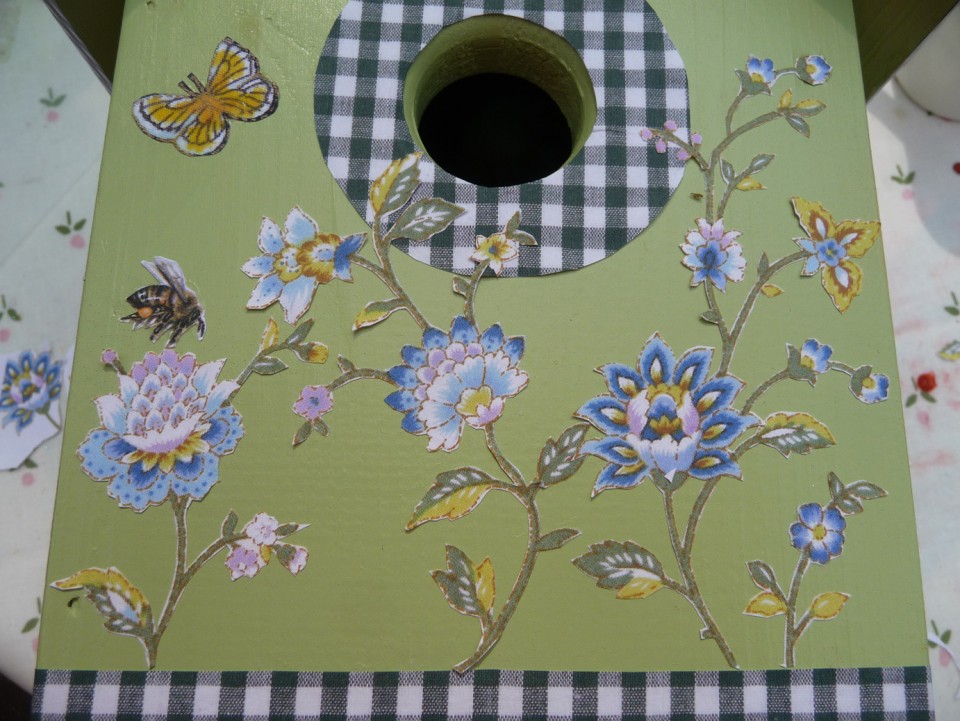
Pretty paper left over from our Easter Egg project was on hand. Loads of pieces had already been cut out, so after playing around with designs for a while I was ready to start. One of the flowers was removed, turned upside down, covered with the decoupage finish and placed back on to the design. Soon each of the pieces had been pasted in position and the design completed. |
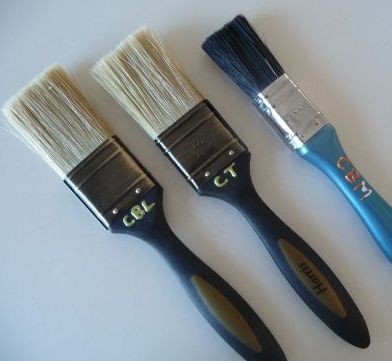
Soon each of the pieces had been pasted in position and the design completed. It is always so rewarding when it starts to take shape. Everything that is needed for the project is here: small pair of nail scissors, a paint brush although I used a sponge brush for the finishing off afterwards, a 100ml of Decoupage Finish and a roll of paper towel. |
 |
 |
 |
|
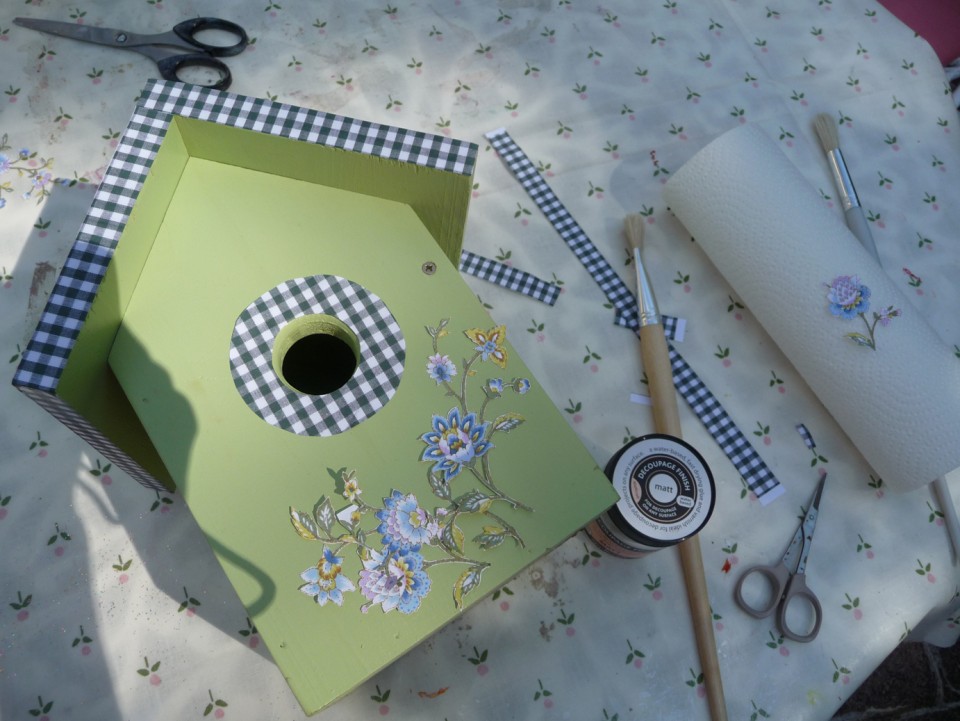
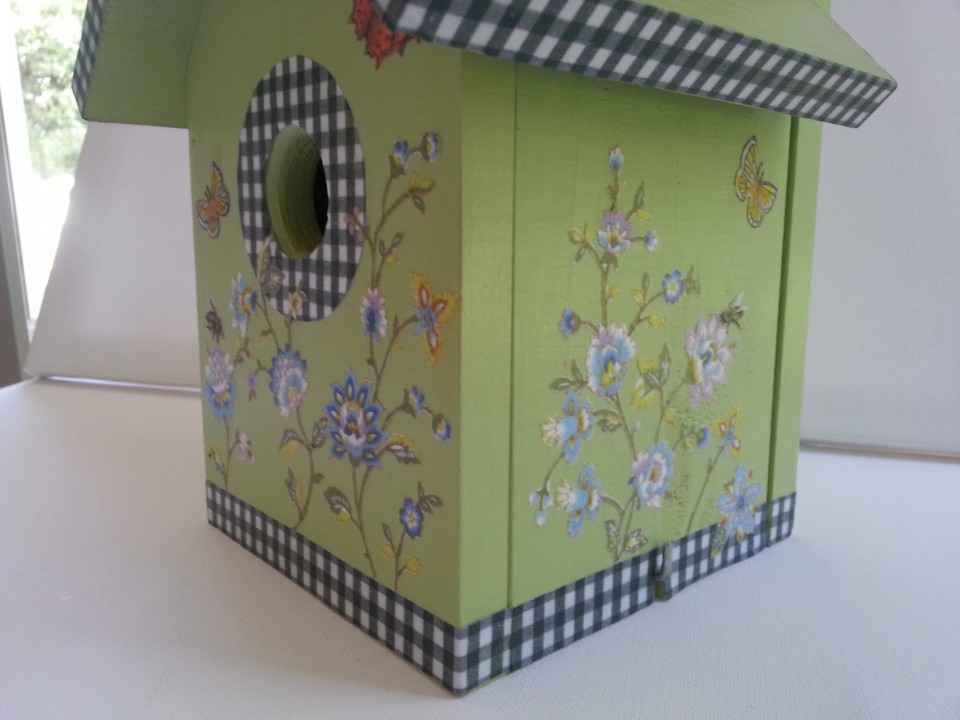
Once the front was complete, each of the sides was decorated. Bees and butterflies, extra leaves and flowers were added to the mix to finish off the design. |
This close up of the front has only had one coat of decoupage finish. Each coat doesn't take too long to dry. I added about 10 coats to the design so that the final design gives the impression of being embedded which gives the impression of having been painted. |
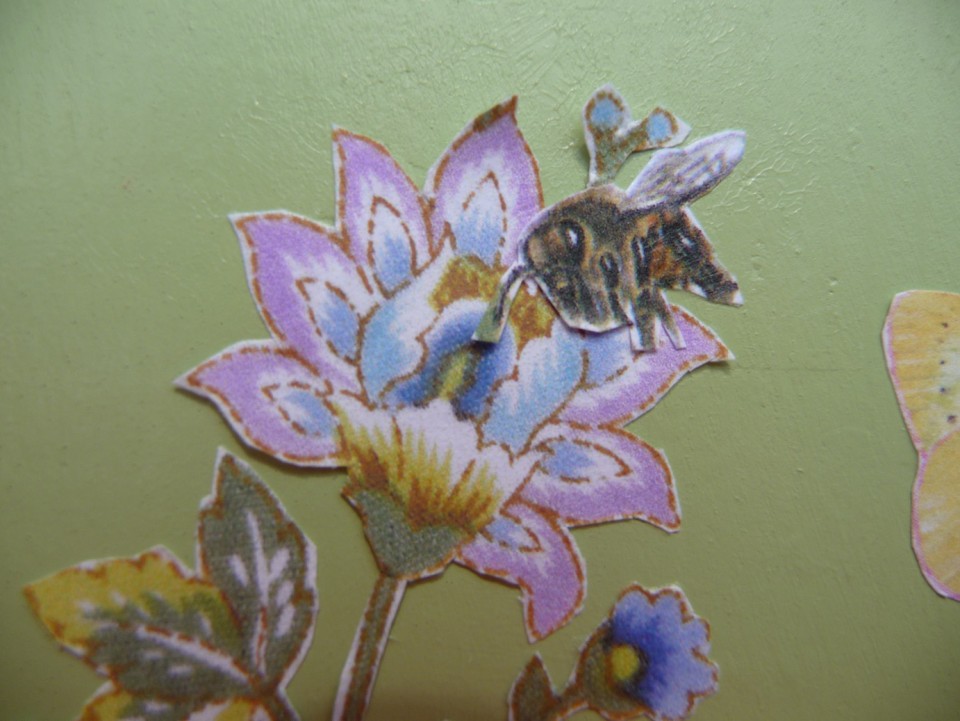
Here you can see the detail of one of the flowers with a bee added to it . This has not yet been covered with the first coat of decoupage finish. |
 |
|
|
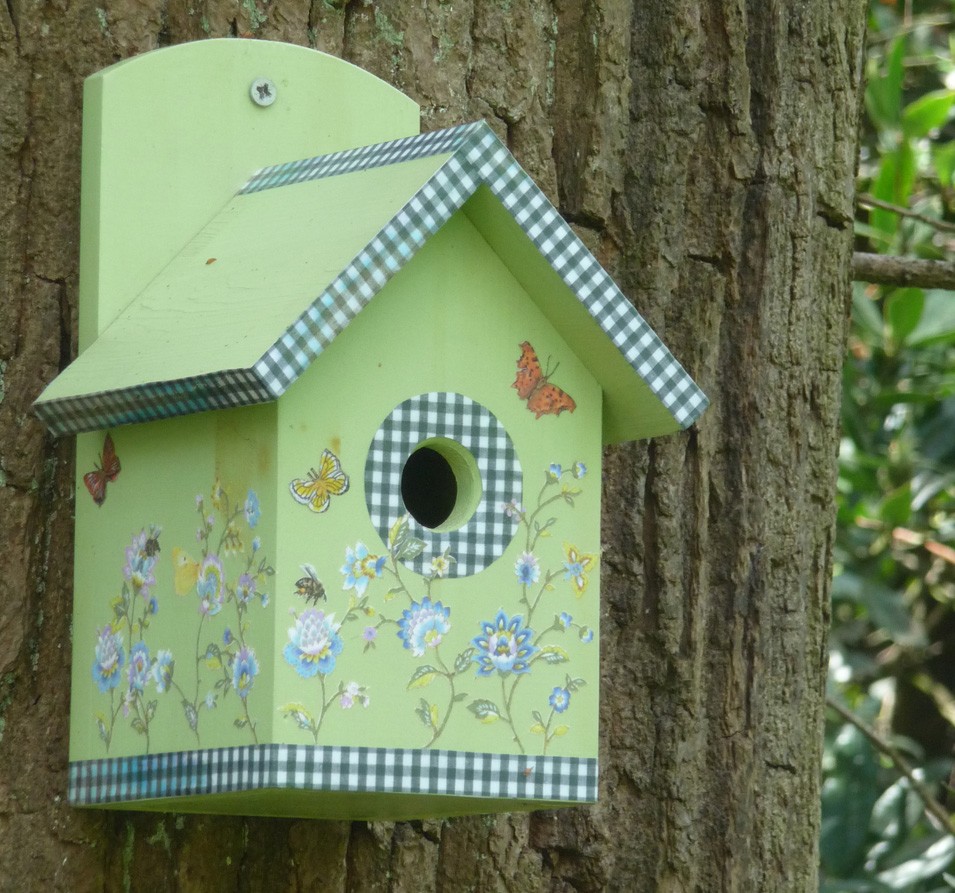
The finished birdhouse just after it had been completed. Pristine. |
 |
 |
|
Before |
After |
previous posts;